Thursday, February 28, 2013

Friend Brunch

This past weekend we had some friends come to visit. Pictured on the left is Ariel, on the right is Sam. Oh wait, no, I got it all wrong. Pictured on the left is Luda, on the right is Kona. Ariel and Sam are the humans that came to visit!


But really, we had a great time hanging with this old friends of ours. Playing with animals, eating burgers, drinking adult beverages, going on a group human/animal run, and having brunch were among the highlights. A few additional friends joined us for this delicious pot-luck style brunch. Ariel offered to bring supplies for a bloody mary bar. A great bartender she was.


Celery, lime, and pickle? Yes please.


I volunteered to make a couple of quiches. Asparagus, mushroom, goat cheese made up quiche #1 and bacon, kale, and cheddar made up quiche #2.


Other brunch additions included citrus salad, scones, blueberry muffins, crispy roasted potatoes, and apples.


Spotlight on Luda the dog. He's just so cuddly!


 Before our out of town guests hit the road, we attempted a group human/animal picture. As you can see, this was no easy task. But hey, we did it.


Missing our weekend guests already!

Tuesday, February 26, 2013

Almond Joy Brownies with Chocolate Ice Cream and Coconut Shell

Just so you know, most of the recipes I post on the blog are total experiments. I usually find myself in a bind, needing to create a dessert for a gathering, and don't want to make the trip all the way into town to purchase supplies. So, I open up the cabinets and see what I have to work with. On this particular day I wanted something a little more exciting than just plain old brownies. I found almond butter, coconut cream, slivered raw almonds, and some shredded coconut in the cabinets and I immediately thought "almond joy brownies"!


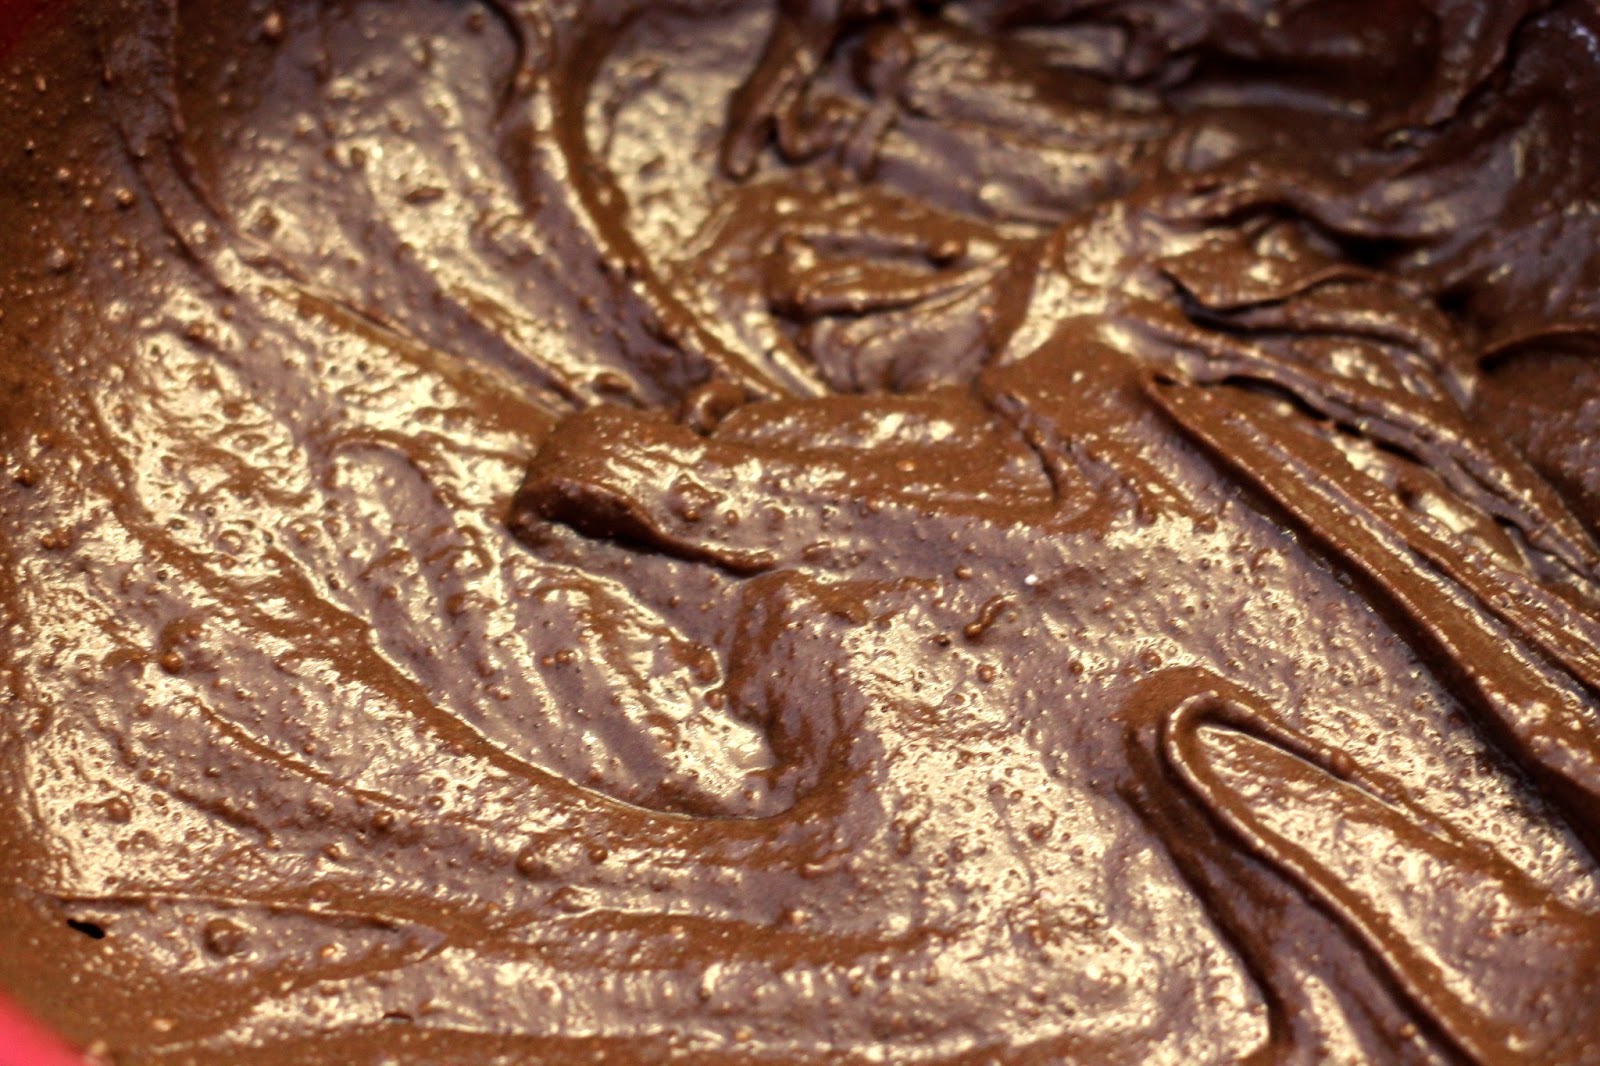
I mixed up the batter according to package directions, and added a couple of tablespoons of coconut cream, and a couple tablespoons of almond butter (no, these were not exact measurements by any stretch of the imagination). Mmmm, brownie batter.


I decided to later the coconut and almond on top of the brownie batter for better presentation and to allow them to toast ever so slightly as they brownies were baked.


Finished pan of goodness.


All served up on a platter, ready for ice cream.


Now this combination was no first time experiment this time around. I love the combination of ice cream and coconut butter, and here's why....


If you plop a few tablespoons of coconut butter (not coconut cream) in the microwave for 30 seconds or until fully melted, then pour it over ice cream, guess what happens? Coconut shell! You know, kind of like that horrible-for-you chocolate shell stuff that you buy off the shelf in the grocery store? The stuff that brought pure joy to you as a kid? Well here's the grown up version. Can't. Get. Enough.


Even if you don't make the brownies, at least try the coconut shell next time you scoop yourself a bowl of ice cream. You won't be disappointed.

Almond Joy Brownie Recipe
- 1 package brownie mix (I prefer the dark chocolate kind), prepared
- 2 tbsp almond butter
- 2 tbsp coconut cream (or heavy coconut milk)
- 1/4 cup chopped or slivered almonds
- 1/4 cup shredded coconut (sweetened or un-sweetened, depending on how much of a sweet tooth you have)
- 1/4 cup coconut butter
- Chocolate or vanilla ice cream

Directions:
- Mix brownie batter according to package directions
- Add almond butter and coconut cream to prepared batter, mix until incorporated
- Pour batter into a well greased 9x13 pan
- Top with chopped almonds and shredded coconut
- Bake according to brownie package directions
- Serve brownies with a scoop of ice cream and a drizzle of melted coconut butter for maximum flavor and enjoyment.

Saturday, February 23, 2013

Grapefruit Cucumber Martini

Grapefruits are dirt cheap right now - at least here in Boone they are! You can't beat $1.47 for a huge bag of them at the local Harris Teeter. I typically pack a grapefruit with my lunch every day, but I needed some additional ways to use up the citrus fruits that were living in my fridge. And so, the grapefruit cucumber martini was born. This drink is the perfect pick me up for one of those winter-is-never-going-to-end kind of days.

Start out with some grated cucumber, reserving a few slices for garnish. Then, juice one whole grapefruit, reserving a couple of slices for garnish.


For the alcohol, I used gin, vodka, and triple sec (for sweetness). Clearly these are not top shelf liquors, but top shelf would be just fine as well.


Add the liquor to a martini shaker with ice, cucumber shreds, and grapefruit juice, and shake!


Pour the martini into a cool glass (this newly wed didn't register for martini glasses, so this fancy bar glass will have to do instead). Keep in mind, this is a martini, so it is mostly alcohol. It looks like such a small amount of drink, but believe me, it's powerful. Please drink responsibly.


Garnish with the reserved slices.


And imagine it's not 22 degrees with winds gusting up to 60 miles per hour :). Yes, that was the actual forecast on the day that I created these drinks!

Thursday, February 21, 2013

5 Ingredient Tempeh Tacos

Vegetarian alert! These tacos are veggie-friendly and SO easy to make. I kid no one when I say that there are only 5 ingredients required to make these tacos (only 4 if you don't like mushrooms)! This meal is not only super quick and easy, but it's cheap! Tempeh usually goes for $2.50-$3/package in your regular grocery store. It's usually kept near the tofu in the produce section. Tempeh is a high protein soy product that originated in Indonesia. Soy beans are pressed into cakes and are put through a controlled fermentation process. Don't worry, it doesn't taste nearly as gross as that description makes it sound. I promise. This is what it looks like in un-cooked form.


The rule of thumb with tempeh is that it will pick up whatever flavors your season it with. It doesn't have a ton of flavor on it's own, but it's very versatile because you can customize it to whatever theme you prefer.

I generally have one package of tempeh and one package of tofu in the fridge at all times. They're both cheap, high in protein, and easy to use for a quick dinner during the week. This week, Jacob and I decided we needed to use up the tortillas that had been hanging out on top of our microwave for far too long. So, the tempeh was cubed, the onion chopped, and the mushrooms sliced. Let's get to the good stuff.

I didn't include olive oil as one of the ingredients, because I feel it's a given. But, olive oil was added to the pan before throwing this tempeh mixture on the stove for some heat.


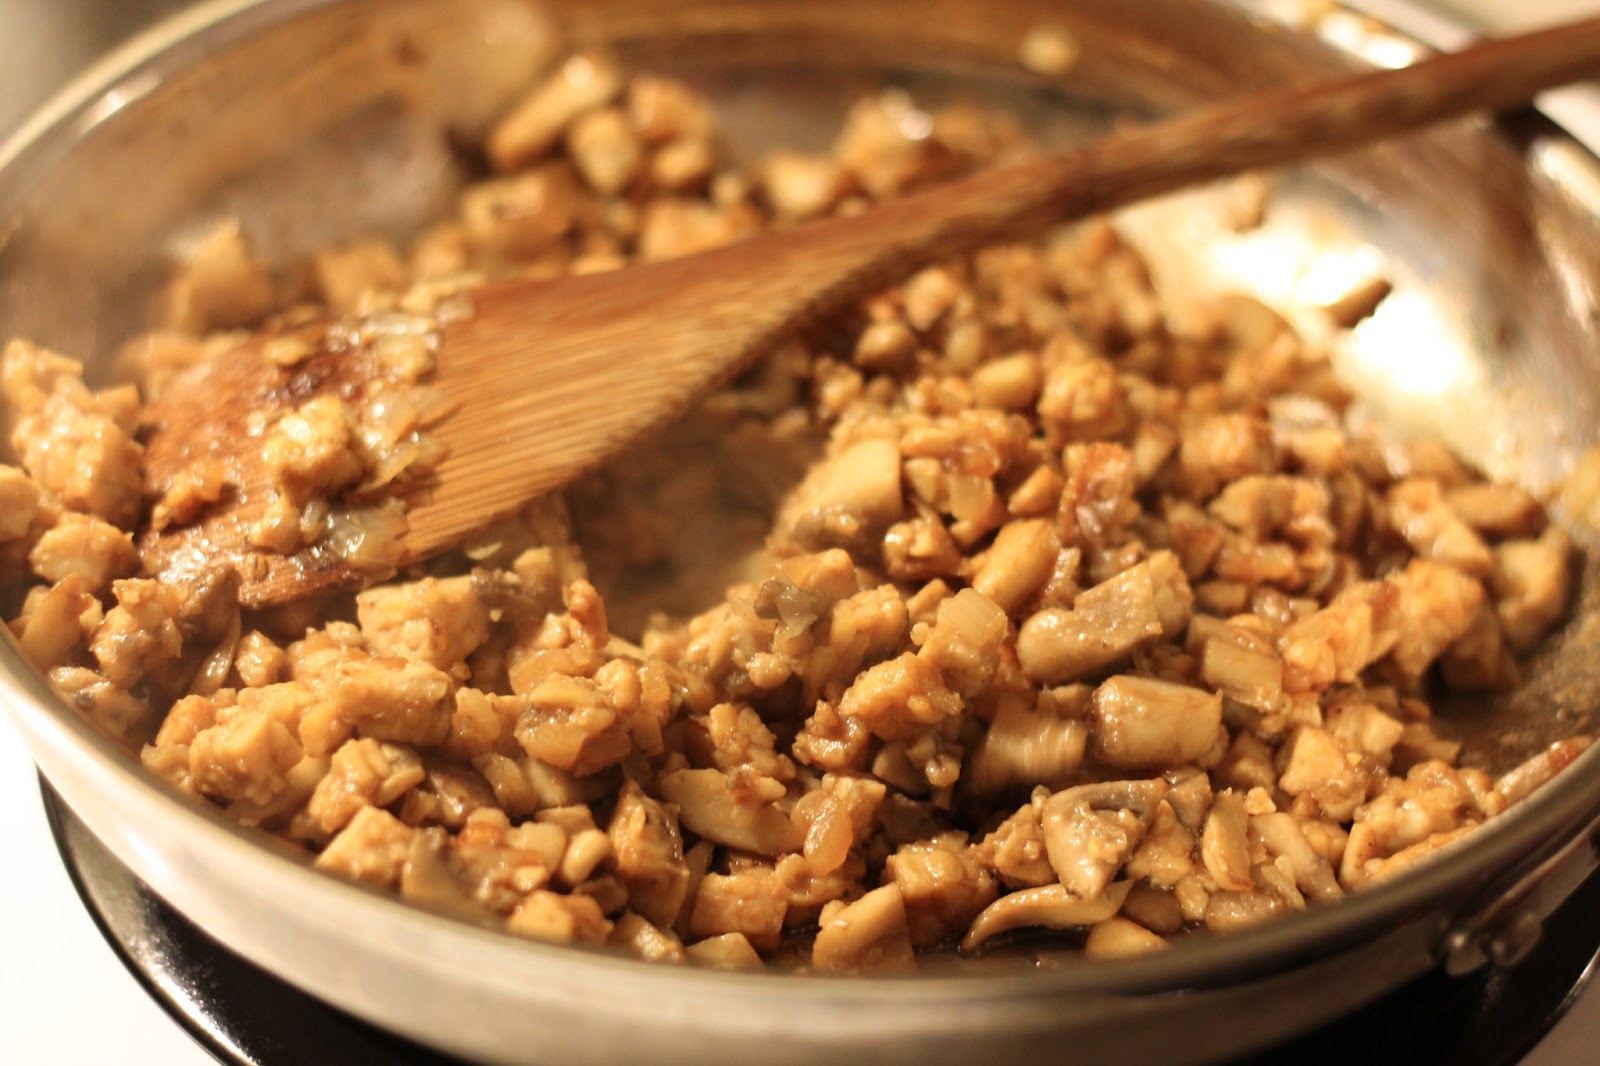
Once the tempeh was heated through and a starting to get crispy, we threw in a couple tablespoons of soy sauce.


The tempeh mixture was piled high onto fajita size flour tortillas (corn tortillas are our usual go-to, but flour was handy this time around) and topped off with a little salsa, pepper jack cheese, and sour cream  greek yogurt (the perfect sour cream substitute)! You can call me a liar if you want, since I didn't include the toppings in the ingredient list.


Along side these delicious tacos were some roasted veggies - kale and broccoli. Cleaned, seasoned with olive oil and salt/pepper, and roasted in a 400 degree oven for 15-20 minutes. Apple slices too!


Jacob is looking really happy and so attractive in this picture here. But really, he loves tacos.


5 Ingredient Tempeh Taco Recipe
 - 1 package tempeh (any variety will do), cubed into small cubes
- 1 small onion, diced
- 7-8 medium white button mushrooms, sliced
- 1-2 tbsp soy sauce
- Tortillas

Directions:
- Add the tempeh, onion, and mushroom to a hot pan that has been coated with a few glugs (very precise measurements here) of olive oil
- Cook the tempeh mixture for 10-15 minutes or until it starts to get a bit crispy and browned
- Add soy sauce to taste
- Pile high on warmed tortillas (we usually warm ours in the microwave for 30-45 seconds with a damp paper towel on top so they don't dry out)
- Garnish with salsa, sour cream, cheese, cilantro, lime, or any other taco topping favorites!

Monday, February 18, 2013

Our Home (and our crazy summer of 2012)

Jacob and I purchased our home last August. It was a whirlwind time of wedding planning, new jobs, and moving. Just to put it in perspective, here's a timeline:

April 2012 - We're engaged! Let the wedding planning begin!

(disclaimer, this photo was taken at 2am, immediately after Jacob woke me up in the middle of the night to propose)

May 2012 - I graduate from ASU and start my full time job.


July 2012 - Jacob and I each move out of our college apartments, Jacob starts his full time job.
August 2012 - A friend of ours tells us about this house we should look into, Jacob starts his busiest semester of grad school.
September 2012 - Closed on the house, moved all of our stuff (yet again), painted the exterior of the house, pick out Lily from the humane society!


September 30th, 2012 - We got married!


Then, married life as homeowners began. I have no pictures of the exterior of the house yet, because it has been buried in snow for the last 2 months. But, here are some snapshots of the inside!

Kitchen, with the table that Jacob made for my birthday. We still need to sand and stain the table, but haven't had a free weekend to tackle that task yet. Love the eat-in kitchen style and the fake but quirky stone flooring. Tons of cabinet space! The only change we have made in this room since we moved in was adding a stove and changing out the light fixture. This light fixture was a $30 purchase at Lowes!


Living/family room. Hoping to put down some kind of wood flooring in here sooner rather than later. I would also like to get some color on those walls over the winter. But, for now it's cozy! We spend almost as much time in this room as we do in the kitchen.


Our make-shift bar. The table is an old barn door that we got from Jacob's parents. We threw it on top of two saw horses from ikea and viola! We like to keep our barware on display and there was no room for it in the kitchen.


Wedding and engagement memory area. My Mom and Dad put together this window/picture frame with some of our engagement pictures. My wedding bouquet is on display in one of the mason jars that was used at our wedding reception. Oh, and the succulent! Love these plants. Plus, they're hard to kill. I'm good at killing house plants, so I'm hoping I can keep these ones alive for more than a few weeks.


Our main source of heat. It's vented throughout the house and does a pretty good job distributing heat. Talk about appreciating warmth! Nothing like having to trudge outside at 6am when it's 40 degrees in the house to get more firewood. But, we've saved a ton of money using this guy! Anyone with connections to free firewood in the Boone area, holler at us! Pictured beside the furnace is our fun little wood cart that Jacob's Mom got me as a birthday present.


Guest bathroom. I love the color this room is painted, and I didn't have to do the actual painting - love that. There is a shower/bathtub in there, you just can't see it. We have an old dresser we are going to convert into a vanity that wil eventually go in this room.


The door to the office, one of my favorite finds! We got this door for $30 at the Re-Store here in Boone. 


Guestroom! This room has been put to use at least 2 out of 4 weekes every month! We love having a separate space for the people who come to visit us.


Master bedroom. The little ledge on the right side of the room is a nice little shelf for pictures and such. The sheer curtains for this room were purchased at Ikea for $10. Eventually we'll have an actual bed (or at least a headboard) but for now, this room is just fine.


Fireplace (which you can't really see) and mantle in the master bedroom. Romantic? Jacob's Mom gave us a groupon for a canvas print after the wedding - it turned out great! On either side of the fireplace are shelving units. They are painted black right now, which we're not crazy about, but they're low on the list of priorities at this point.


There you have it! I'll likely do a post on the exterior features once things warm up a little and the trees start to turn green again.

Wednesday, February 13, 2013

Simple Banana Cream Pie

I had the priviledge of going back home to Cary, NC for a few days last week for a business trip. While there, I also got to spend some quality time with my parents during the week (a rare occasion these days). One of the biggest highlights was getting to go swim at the Cary YMCA with my Dad. My Dad and I used to swim at the Y every Monday, Wednesday, and Friday all throughout my highschool yearss. I also spent much time at the Y working as a lifeguard, swim coach, and front desk worker. The Cary Y is close to my heart and I love any chance to hit the pool for an early morning workout with Dad (which is ALWAYS followed by a Bruegger's Bagel/Caribou Coffee date).

In addition to this special treat of waking up at the crack of dawn to exercise, I got to cook for my parents, brother, and sister in law one night. We had an un-eventful meal of beans and rice with all kinds of fixins'. For dessert, banana cream pie. Really really easy banana cream pie. I kid you not when I say that I kind of feel guilty for even posting this since it's so simple to make.


First, you crush up some graham crackers.


You can even purchase pre-crushed graham crackers for an even easier version of this cheater pie.


 Next, you mix up two packets of vanilla instant pudding. Love this XL pyrex measuring cup that my Mom has owned since before I can remember.


Two bananas sliced up.


The graham cracker crumbs are mixed with melted butter and a few teaspoons of sugar (cinnamon and vanilla extract if desired). Press the mixture into a pie plate, doing your best to make sure the crumbs are pressed up onto the sides as well. Then, the crust is baked in a 350 degree oven for 5-10 minutes or until golden. This is by far the hardest part.


Layer the banana slices in the baked pie crust.


Then spread the pudding on top of the banana slices.


While the pie is cooling in the fridge, toast up a little coconut (optional).


Then whip up some whipped cream and spread it on top of the cold pie.


Top with toasted coconut.


Serve!


Cheater's Banana Cream Pie Recipe

- 1 package of graham crackers, crushed
- 1/4 cup butter, melted
- 2-3 tsp sugar
- 1 tsp vanilla extract (optional)
- 1 tsp cinnamon (optional)
- 2 bananas
- 2 packages instant vanilla pudding, prepared
- 2 cups whipped cream, prepared
- 3 tbsp coconut, toasted

Directions:

- Preheat oven to 350 degrees
- Mix crushed graham crackers, melted butter, vanilla, and sugar
- Press graham cracker mixture into a pie plate
- Bake pie crust for 5-10 minutes or until golden
- Slice bananas, place layer of bananas on the bottom of the cooled pie crust
- Spread pudding on top of bananas, refrigerate until pudding is set (1 hour, or up to 1 day)
- Spread whipped cream on top of the pudding layer
- Garnish pie with toasted coconut 
- Enjoy!