Sunday, March 31, 2013

Bundt Pan Chicken with Green Beans and Lemon Rosemary Mashed Potatoes

Springtime food in my mind should includes lots of tender green vegetables, fresh herbs, and lemon. This meal incorporates exactly those things. Bundt pan chicken with green beans and lemon rosemary mashed potatoes would make a wonderful start to your easter dinner menu! I came across this idea not out of creativity, but out of desperation. I don't own a roasting pan, and I don't like spending lots of money on kitchen items that I know will only be used for one thing. So, I researched some roasting pan - free ways to roast a whole chicken. I decided on the bundt pan method. You can throw whatever goodies you like in the bottom of the bundt pan, just be warned that whatever goodies you choose will be slow roasted in chicken fat (it tastes way better than it sounds, promise). I chose mushrooms this time around, but roasting the potatoes this way is also divine.


Since the oven was already going to be on, I decided to roast the veggies instead of steaming them. Pictured here are the veggies and the lemon/rosemary items for the potatoes.


While we waited for the chicken to roast... Hors d'oeuvres at the living room bar. A little vino, anyone?


Finished veggies.


Finished potatoes


And finally, finished chicken! Roasting it on the bundt pan ensures that the bird stays nice and moist throughout cooking.


 A completed plate. Now where are the cadburry eggs?


Bundt Pan Chicken Recipe
- 1 whole chicken, rinsed and patted dry
- 2 tbsp butter, softened
- Salt and pepper
- 1 tsp dried rosemary
- 1 tsp dried sage
- 1 package of sliced white button mushrooms
- 1 small onion, sliced into rings

Directions:
- Place mushrooms and onion in bottom of the bundt pan, season with salt and pepper to taste.
- Combine softened butter and dried herbs into a paste.
- Rub the butter mixture under the skin of the chicken and on the outside of the chicken.
- Place the drumstick side of the chicken on the middle of the bundt pan so that it rests securely.
- Sprinkle salt and pepper on the outside of the bird.
- Roast in a 350 degree oven for 1.5-2.5 hours depending on the size of the bird. The internal temperature of the thickest part of the breast will need to register at 165 degrees before the bird is taken out of the oven.
- Once the bird reaches 165 degrees, remove it from the oven and let it rest on a plate for 10 minutes before carving.
- Serve with mushroom "gravy".

Rosemary Mashed Potatoes Recipe
- 5 lb red skinned potatoes, washed well and cut into 1 inch cubes (leave the skin on!)
- 1/2 stick butter, softened
- Splash of milk
- 1 lemon, zested
- 1 tsp fresh rosemary, chopped finely
- Salt and pepper

Directions:
- Place cubed potatoes in a pot, cover with water, bring to a boil.
- Once the potatoes are tender, drain them and put them back in the pot they cooked in.
- Mash the potatoes with butter, milk, rosemary, and most of the lemon zest (save a little for garnish!)
- Season with salt and pepper to taste and transfer potatoes to a serving dish and garnish with lemon zest and a sprig of fresh rosemary.

Thursday, March 28, 2013

Caprese Pizza Bread

There aren't many things more delicious than a freshly prepared caprese (pronounced "ka-prey-say") salad - vine ripened tomato topped with a big slice of fresh mozzarella, a drizzle of good olive oil, fresh basil, and sea salt. I had this craving for a fresh summer meal a few nights ago, but wanted a warmed version that was a little more substantial than the typical caprese salad.


So, I took a nice loaf of fresh bread, sliced it in half, and topped each side with all the typical caprese salad ingredients (replacing the fresh basil for basil pesto). Then, I tossed it in the oven so the mozzarella could melt and the bread could get all toasty and crisp. 


The end result?


Served with a big green salad and a nice glass of red wine - it almost felt like summer!

Caprese Pizza Bread Recipe
- 1 loaf french bread
- 1 large vine ripened or heirloom tomato (I got an heirloom from the grocery store and it was surprisingly good, for a winter tomato)
- 1/4 cup basil pesto
- 1/2 lb fresh mozzarella
- A generous drizzle of olive oil
- A few pinches of sea salt (regular salt would work fine)
- Fresh or dried basil for garnish

Directions:
- Slice the loaf of bread long ways and divide into desired sized sections.
- Place bread pieces open side up onto a cookie sheet or into a baking dish.
- Spread pesto on bread pieces and top with thick slices of tomato and mozzarella.
- Sprinkle with sea salt.
- Bake at 350 degrees for 10-15 minutes or until the cheese is melted and the bread is crispy on the bottom.
- Drizzle with olive oil and top with fresh or dried basil for garnish.

Monday, March 25, 2013

House Renovation Project #1 - Wood Floors!

The first big inside house project we decided to tackle was to install wood floors in the living room/hallway area. When we bought the house, new carpets had just been put in. You may ask "why would you tear out perfectly good carpet"? The reason is as simple as this: we have a dog. Carpet is great for the bedrooms, but the living area gets a lot of traffic and with all the snow/rain/mud we get carpet just wasn't going to cut it.

We did a lot of research on the best/most cost effective flooring for this area, and decided bamboo flooring would be the best bang for our buck. We chose this shade and style:


Which were going to be put in this room:


But we can't just cut to the "after" picture right away - you gotta see the whole process! Pictured here, Jacob fixing some areas of the sub-floors.


My brother (Josh), sister in law (Anna), Mom, and Dad all arrived to help with the big project. Pictured here, a little Saturday morning skype break with one of the nieces.


Anna, Mom, and I made a morning run to Lowes to pick up some supplies and came home to the first few pieces being put down!


As the day progressed, the boys worked on the floors while the girls acted as support crew. Lunch, anyone? Tempeh/veggie/quinoa soup + grilled cheese!


In the afternoon, we all alternated between floor work and peeking in on the March Madness that was going on in our makeshift living room/master bedroom.


Before we knew it, the floors were almost done!


We decided to remove the dated baseboard heaters off the living room wall, here I am doing a little touch up paint before the baseboards went back in. I look tired.


And.... Fast foward a few hours! Notice the new rug as well. Love it!


 A closer look at the finished hallway.


And one final before/after...


It was a tiring weekend, but we are so excited about our new floors. They make the room look so much brighter. We can't thank our out-of-town crew enough for all the help! This project would have taken much longer than a weekend project had we tried to do it by ourselves. Plus, it was so fun having everyone in town! Next big project? Hopefully some things outside once it warms up a bit. For now, I leave you with this scene from our house, taken about 3 hours ago from our back door.


Sunday, March 24, 2013

Huevos Rancheros

When I was 16, my Brother, Josh, and I decided to travel to Costa Rica for a month of intensive Spanish language school. Since we were both homeschooled at the time (Yes, I was homeschooled. Make your judgements as you feel necessary), we had the freedom to experience many different educational experiences. We decided to live with a host family so that we could fully experience the "Tico" or Costa Rican lifestyle. Our host family was amazing. We had a great time getting to know them over the month long period we lived with them, and we enjoyed the foods and cultural experiences that came along with the host-home experience.

One of my greatest memories from that trip was breakfast each morning. Our host mother would cook up the traditional Costa Rican breakfast for us, commonly known as "Gallo Pinto" (pronounced guy-o). Salty beans, rice cooked perfectly (and in a way that I have tried to imitate but don't think I will ever succeed), and fried eggs. It was delicious. I wish I could re-create the dish the exact same way our host mom made it. Unfortunately, I can't. But, Jacob gave gallo pinto a serious contender the other night for dinner.

That's right - Jacob cooked this meal. I got home late from work, and Jacob was slaving over a hot stove creating this:


Funny thing is, this dish was actually made using duck eggs. My Father in Law gave us some duck eggs that he had been given from a friend. We couldn't taste a big difference from regular chicken eggs, but the duck eggs were much bigger and had much thicker shells than "normal" eggs.


A large salad was served on the side - made up of spinach, carrots, and mushrooms.


Just one more picture - it was just so pretty.


Huevos Rancheros Recipe:
(serves 2-3 people)
- 2 cups rice, prepared according to package directions (brown OR white is fine)
- 1 can black beans, drained and rinsed
- 2-3 Eggs
- 1 tbsp Butter
- Salt/pepper to taste
- 1/4 Cup Salsa
- 1 Avocado, sliced
- 1/2 Cup Cheddar cheese

Directions:
- Once rice is finished cooking, add black beans and toss. Cover, and let the beans steam in the hot rice.
- Heat a small non-stick skillet over medium heat.
- Add butter to pan, crack eggs into the skillet.
- Cook eggs to desired consistency, season with salt and pepper.
- Place 1-2 cooked eggs on each serving of heated beans and rice.
- Top with desired toppings (salsa, avocado, cheese)

Thursday, March 21, 2013

Cranberry Coconut Almond Granola

This past weekend Jacob and I were browsing the cereal aisle of our local health food store when I had a realization: I thought, "I can make these organic, artisan, fancy pants granolas at home for 1/4 of the price". I think paying over $2.50 for a box of cereal is ridiculous. These boxes of "artisan granola" were closer to $4 or $5. No way, jose. I was raised dutch and will always be dutch. I don't like to pay more for something than I absolutely have to (unless it's spiced gouda cheese or salt licorice, of course). And so this recipe was born.

You can totally customize this granola however you would like - the base for the granola should stay the same, but you can add whatever special additions you have on hand to create your own special version.

Start with a large sheet pan. Put down a layer of parchment paper.


Next, measure out the dry ingredients and put in a large bowl. I went a little crazy in the bulk section yesterday. The nice thing about purchasing items like this in bulk is that you can purchase exactly how much you want to use for a recipe. And, it's typically far cheaper than buying the same ingredients pre-packaged.


Once the dry ingredients are mixed up, heat up the wet ingredients in a small saucepan.


Pour the warm mixture over the dry ingredients and stir well.


Pour the mixture onto your prepared baking sheet and spread out evenly.


Heat the oven to 325 degrees and bake for 20 minute, stirring halfway through. When the granola is golden and has made the house smell delicious, take it out of the oven and let it cool.


I like to wait until after the granola has cooked to add any dried fruit, since it can get a little charred in the oven. I added dried cranberries after the granola had cooled.


Once the granola is completely cooled, transfer it to an airtight container and enjoy it for weeks!


Eat your granola with yogurt, with milk, with fresh fruit, with ice cream, or plain and by itself! It also makes a great gift!

Cranberry Coconut Almond Granola Recipe:
Yields approx. 5 cups granola
- 3 cups old fashioned rolled oats
- 1/2 cup millet (this can be found in the bulk section of your grocery store, or near the flour in the baking aisle)
- 1/2 cup shredded coconut
- 2/3 cup almonds (I used blanched, slivered)
- 1/2 cup flax seeds
- 1 tsp salt
- 2/3 cup honey
- 2 tbsp molasses
- 1/4 cup coconut oil
- 1 tsp cinnamon
- 2 tsp vanilla extract
- 2/3 cup dried cranberries

Directions:
- Preheat the oven to 300 degrees.
- In a large bowl, mix together the oats, millet, coconut, almonds, flax seeds, and salt.
- In a small saucepan, heat the honey, molasses, and coconut oil.
- Once the wet ingredients are melted and mixed together, take the pan off the heat and add the cinnamon and vanilla extract.
- Pour the warm honey mixture into the bowl with the oats and other dry ingredients, stir to incorporate.
- Pour the mixture onto the parchment lined pan, spread evenly.
- Bake the mixture for a total of 20 minutes, stirring after 10 minutes to ensure the granola on the edges doesn't burn.
- Let the granola cool, then add the dried cranberries.
- Store in an airtight container, and enjoy!

Monday, March 18, 2013

Baked Potatoes with Cheesy Black Bean Sauce

We had some potatoes in the house that needed to be used last night, so I decided on baked potatoes for dinner. Now usually, a meal made of pure simple carbs would not be my first choice, but these baked potatoes were loaded with protein, fiber, and tons of vegetables - they're healthy baked potatoes! Now don't get me wrong, I love a baked potato smothered in butter, sour cream, cheese, and salt. But for a main dish, I thought I would spice it up a bit.

You know how baked potatoes that are cooked just right have that slightly chewy but soft texture in the middle? Mm. These ones turned out just like that, and boy were they good.

I didn't actually use "baking potatoes" (or russet potatoes as some would say...), I used a combination of red skinned and yukon golds. This was what I had on hand, and they worked just fine! They since were small, we each had two for dinner - the perfect amount.


I washed the potatoes really well (since I like to eat the entire potato, I like to make sure all the dirt and sand is removed), poked a few holes in them with a form, then rubbed them with a drizzle of olive oil, and sprinkled them with a pinch of salt. Roll each one up in a small piece of aluminum foil, and bake at 350 for an hour or until tender.


Next I worked on the cheesy black bean sauce. This is just a basic white sauce with a little cheddar and a can of drained and rinsed black beans added in.


 Start by melting butter, then whisk in flour and cook for one minute. 


 Whisk the milk into the butter and flour mixture and bring to a slow simmer so the sauce can thicken. Season with salt and pepper, and add cheddar cheese and black beans.

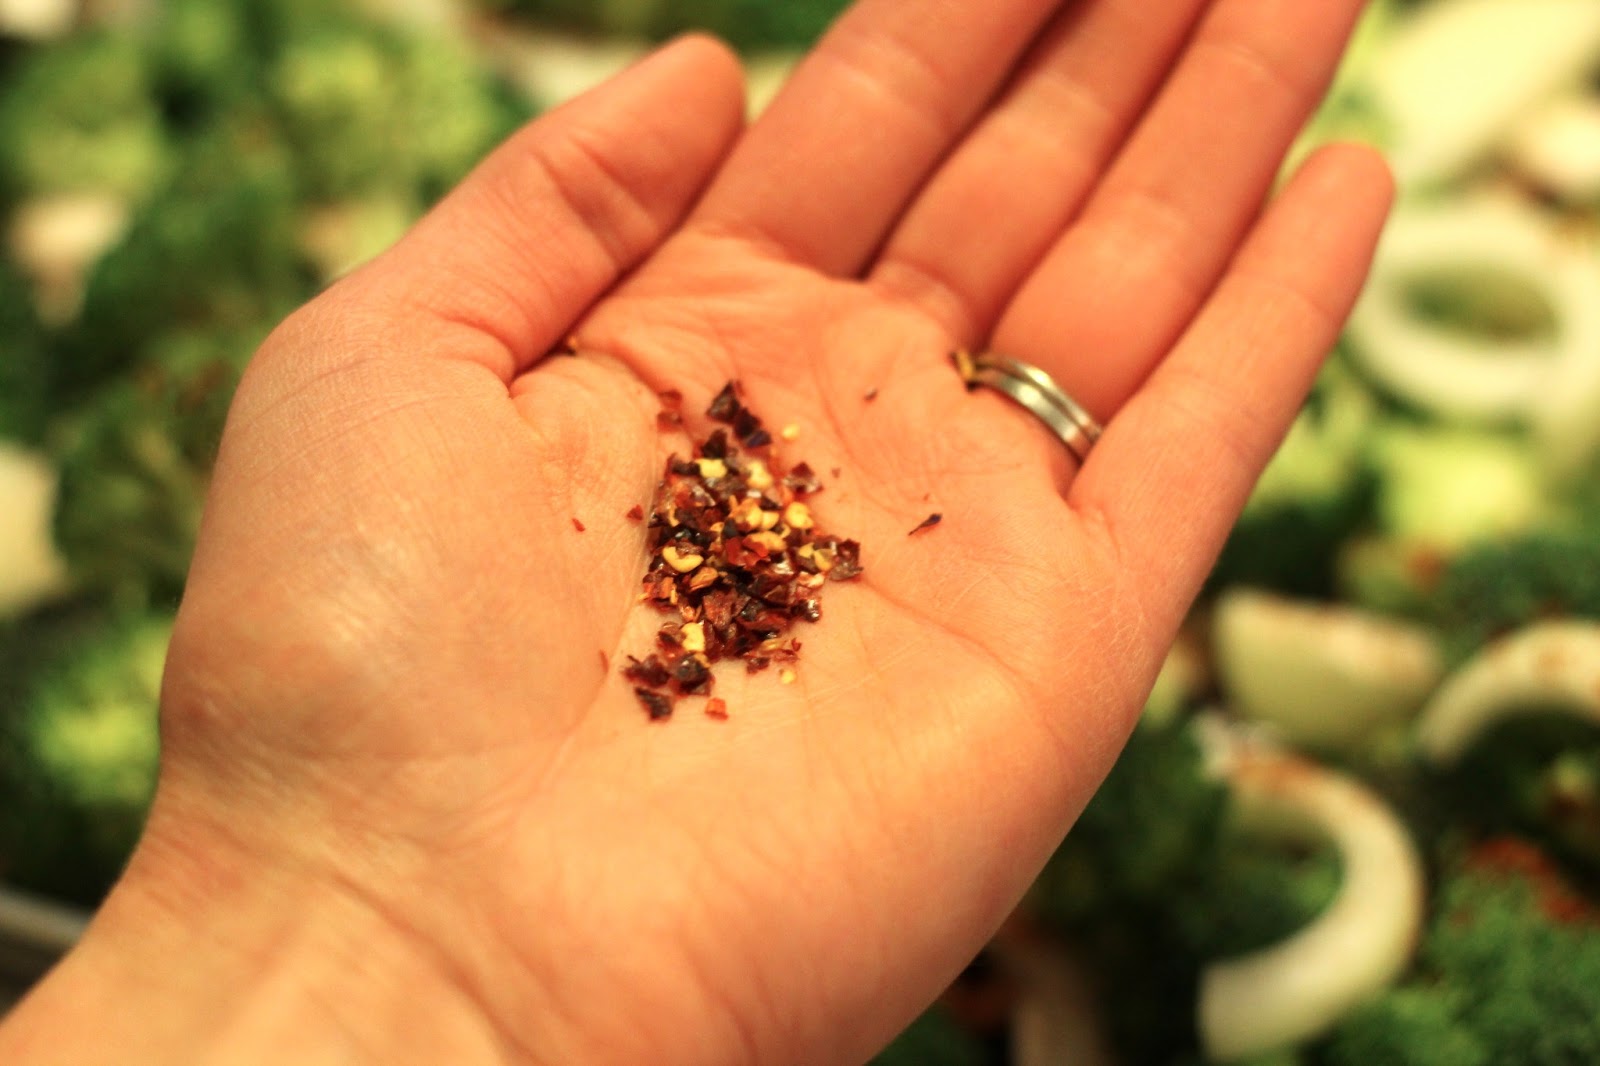
Next, I worked on getting some veggies ready to roast. Broccoli, mushrooms, and onions. Chili powder, salt, red pepper flakes, and olive oil. Toss until all spices and oil are evenly distributed and roast at 400 degrees for 20-25 minutes.


Once the potatoes are soft, the veggies are roasted, and the cheesy black bean sauce is prepared, pile it up! 


In addition to the roasted veggies and cheese sauce, we also put fresh spinach, salsa, avocado, and sour cream on our potatoes. The sky's the limit as far as toppings - grilled chicken would be great, black olives would be delicious, fresh cucumber would be refreshing. Customize and enjoy!


Cheesy Black Bean Sauce Recipe:
- 3 tbsp butter
- 2 tbsp flour
- 1 and 1/4 cups 2% milk
- 1 cup shredded cheddar cheese
- 1 can black beans, drained and rinsed
- Salt and pepper to taste

Directions:
- In a heavy frying pan or sauce pan, melt butter over medium heat.
- When butter is melted, add flour and whisk until incorporated into the butter evenly. Cook for 1 minute.
- Slowly add the milk to the flour and butter mixture, whisking vigorously to ensure lumps do not form. 
- Bring mixture to a low simmer and cook until it coats the back of a spoon.
- Add cheese and beans to the flour and milk mixture.
- Season with salt and pepper.